Motivation:
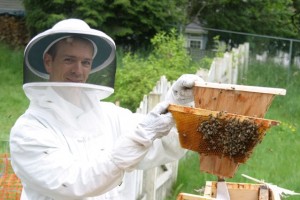
I moved a 5 frame conventional (Langstroth) nucleus hive into a top bar hive so they would have space to grow. The bottom corners of each frame are cut off to make the rectangular frame fit into the trapezoid shape of the top bar hive. Since I’m running only top bar hives now, it makes sense for me to have a consistent setup.
There are several approaches:
1. Use the top of the old frame as the new top bar;
2. Use cotton string to tie all the comb onto a new top bar; or
3. Use screws to attach the old frame to the bottom of a new top bar.
I chose to use the first approach because it is a faster process, and it keeps the maximum amount of comb intact.
All frames from the “old hive” should be in the same sequence in the new hive
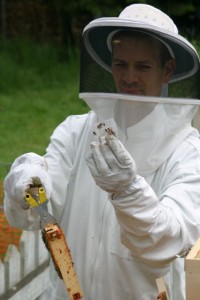
Step 1: Find & capture the queen.
- In all the disruption that this causes, I wanted to prevent something bad from happening to the queen.
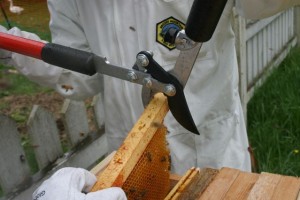
Step 2: Shake off the bees from the frame and remove the bottom 3 edges of the frame.
- Shake the bees into the new top bar hive.
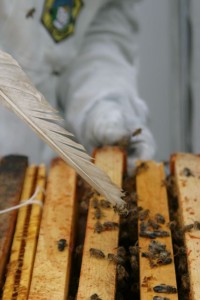
- A goose feather makes a good “bee brush” to flick them off of the frame.
- Cut through any wax that attaches the comb to the sides or bottom of the frame.
- Make a single cut with a pair of loping shears on the bottom or sides of the original frame.
- Break off the wood pieces from the sides & bottom.
- I had to cut off the ends of the frame (19″ long) to fit into the place held by 18″ top bars.
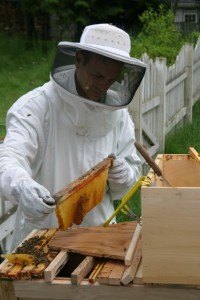
Step 3: Use follower as template to cut off excess comb.
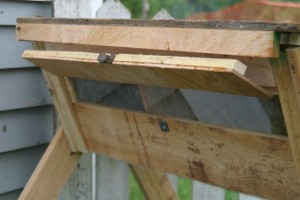
- The follower is a movable board that makes a false rear wall at the back of the top bar hive.
- It allows the TBH beekeeper to adjust how much space the bees have to work with
- It is exactly the right shape of the final comb profile.
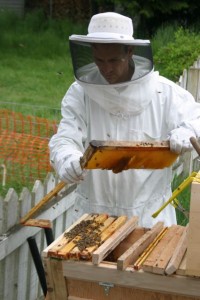
Step 4: Place the frames into the new top bar hive.
- Because spacers on each frame have been removed, you will need to pay more attention to bee space.
- Use a water mist spray to drive the bees off of the top bar when replacing the cover.
- The old frames are not as wide as the top bars, and can slide together. This gives good ventilation (good), but will make sealing the hive to transport difficult (bad), and allow zero bee-spacing (also bad).
Step 5: Keep the queen caged until the bees move into their new home.
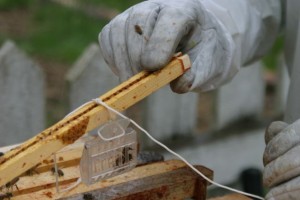
- I hung the hair clip queen catcher from a string between two combs (preferably not brood combs) in order to help coax the workers into the new hive.
- I released the queen that evening, after all the bees had moved in.
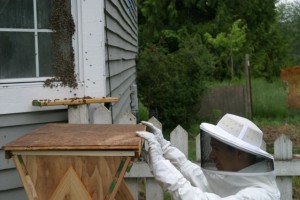
Step 6: The bees will search around for their new home & eventually move in.
- Place the new hive as close as possible to the old location.
Step 7: Observe & adjust as needed
- When the bees start adding comb, make sure it is parallel to the last frame, and centered on the next top bar.
- Grooves on the bottom of each top bar help the bees keep the comb straight & centered.
Other resources:
video demonstration at http://vimeo.com/5614348

